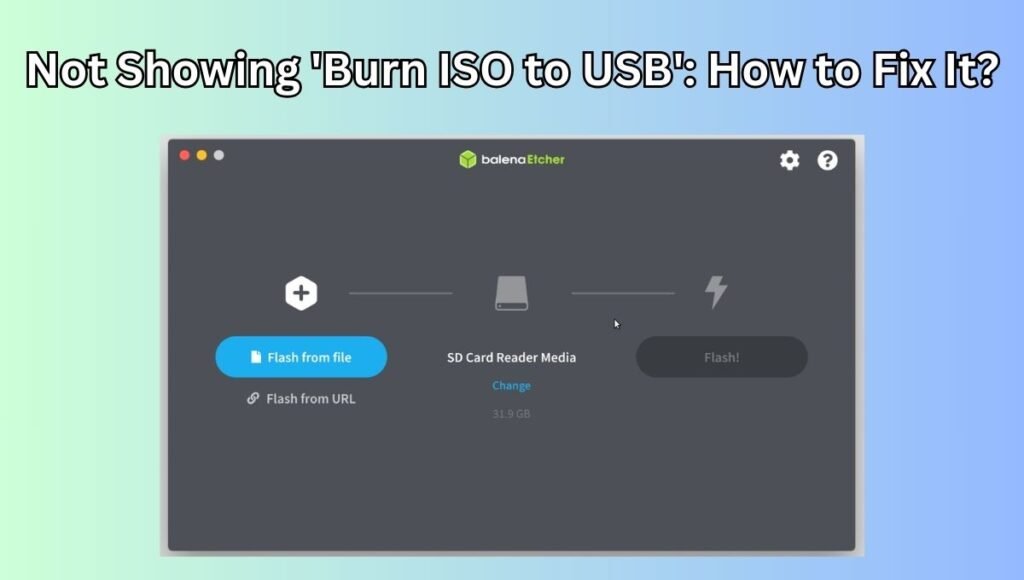
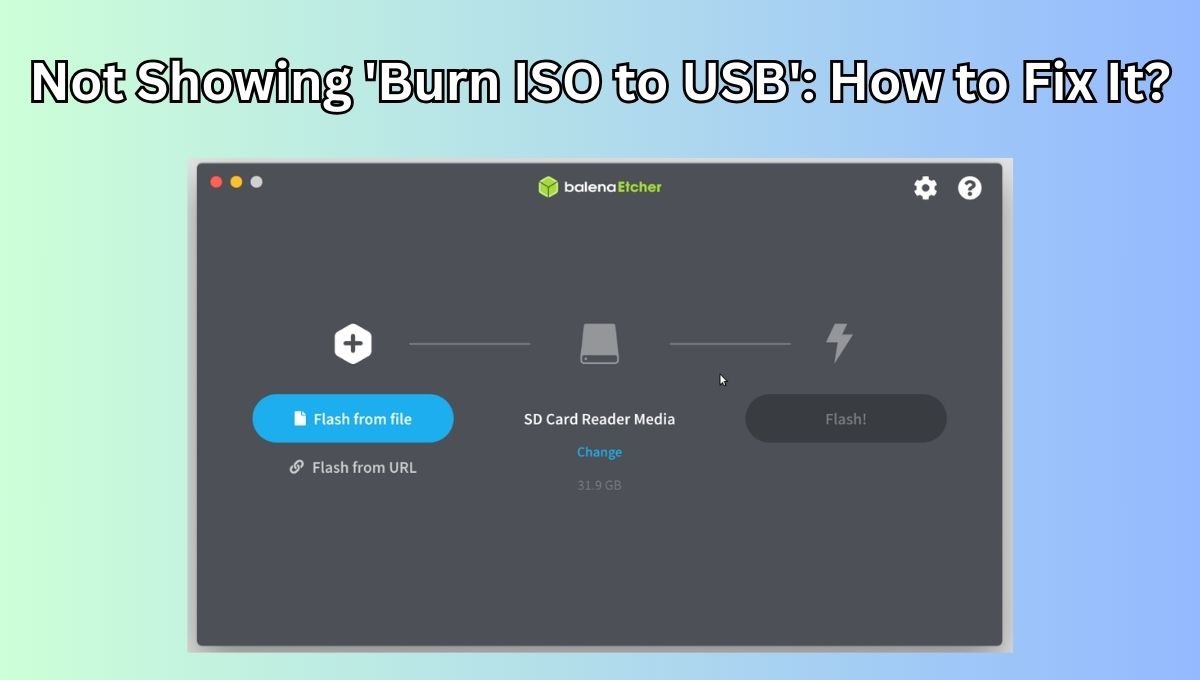
If you’re trying to create a bootable USB drive in Windows 11, you may encounter a situation where the option to “Burn ISO to USB” is missing. This can be frustrating, especially when you need to create a bootable USB for installing Windows or running a Linux distribution. In this article, we’ll explore why this problem occurs and provide step-by-step solutions to help you burn an ISO file to a USB drive successfully.
Why Does Windows 11 Not Show ‘Burn ISO to USB’?
Windows 11, like its predecessors, has built-in tools to handle ISO files. However, the “Burn to USB” option might not appear due to the following reasons:

- Windows does not have a built-in ‘Burn ISO to USB’ feature: Unlike the “Burn to Disc” feature, which can burn ISO files directly to a CD/DVD, Windows lacks a native tool to write ISO files to USB.
- Outdated software or drivers: Missing or outdated drivers might prevent your USB drive from being recognized correctly.
- Insufficient permissions: In some cases, administrative permissions are required to access certain settings or install third-party software.
- Corrupt or incompatible USB drive: If the USB drive is damaged or not formatted correctly, Windows may fail to display the required option.
How to Burn an ISO to USB in Windows 11
Since Windows doesn’t include a native tool for burning ISOs to USB, you will need to use third-party software to accomplish this. Below are methods to fix the issue and successfully create a bootable USB drive.
1. Use the Windows Media Creation Tool
If you’re looking to create a bootable USB for installing Windows, the simplest way is to use the Windows Media Creation Tool. Follow these steps:
- Download the Windows Media Creation Tool from the official Microsoft website.
- Run the tool and accept the license terms.
- Choose Create installation media (USB flash drive, DVD, or ISO file) for another PC.
- Select USB flash drive and follow the prompts to download and write the ISO directly to your USB drive.
This method is best for creating bootable drives for Windows 11 installations.
2. Use Third-Party Software: Rufus
If you’re dealing with a Linux ISO or other operating systems, using a third-party tool like Rufus can be incredibly useful. Rufus is free, lightweight, and easy to use:
- Download Rufus from rufus.ie.
- Insert your USB drive and launch Rufus (no installation required).
- Select your USB drive under Device.
- Click SELECT to browse for your ISO file.
- Ensure the partition scheme matches your requirements (most modern systems use GPT).
- Click Start to begin the process of writing the ISO to your USB.
Rufus also has advanced settings if you need to customize the bootable USB for specific use cases.
3. Use Command Prompt to Burn ISO to USB
For those who prefer not to use third-party tools, you can manually write an ISO to a USB using the Command Prompt:
- Press Windows + X and choose Command Prompt (Admin) or Windows Terminal (Admin).
- Type
diskpartand press Enter. - Use the following commands one by one:
list disk(to see a list of disks)select disk X(replace X with your USB disk number)clean(to erase the USB drive)create partition primaryselect partition 1activeformat fs=fat32 quick(or usentfsdepending on your needs)assign
- Exit Diskpart by typing
exit. - Mount the ISO by right-clicking it and choosing Mount.
- Copy all files from the mounted ISO to your USB drive manually.
4. Update USB Drivers
Outdated or missing drivers may prevent Windows from detecting your USB properly. Here’s how to update them:
- Press Windows + X and click on Device Manager.
- Expand Disk drives and right-click your USB drive.
- Select Update driver.
- Choose Search automatically for drivers and follow the on-screen instructions.
5. Check USB Drive for Errors
A faulty USB drive can also cause problems. Use the built-in Windows error-checking tool:
- Insert your USB and open This PC.
- Right-click on the USB drive and choose Properties.
- Go to the Tools tab and click Check under Error checking.
- Follow the instructions to scan and fix any errors on the USB drive.
6. Ensure Administrative Permissions
If you’re running into permission issues, make sure you have administrative rights. Right-click the program you are using (Rufus, for example) and choose Run as administrator. This ensures that the software has the necessary permissions to write to your USB.
FAQs
Does Windows 11 have a native tool to burn ISO to USB?
No, Windows 11 does not include a built-in tool for burning ISOs to USB. You’ll need to use third-party software like Rufus or the Windows Media Creation Tool.
Can I burn a Linux ISO using the Windows Media Creation Tool?
No, the Windows Media Creation Tool is designed specifically for creating Windows installation media. Use Rufus or other third-party software for Linux ISOs.
My USB drive is not being detected, what should I do?
Make sure your USB drivers are up-to-date, check for errors on the USB drive, and try using a different port.
Conclusion
While Windows 11 does not offer a direct “Burn ISO to USB” feature, there are several ways to accomplish this task. Using the Windows Media Creation Tool or third-party software like Rufus is the simplest and most effective method. If you prefer manual methods, you can also use Command Prompt commands to make a bootable USB. With these solutions, you should be able to burn ISO files to USB drives without any issues.
Follow this guide to ensure you can create a bootable USB, whether it’s for a Windows installation, Linux OS, or other uses.

