
The Windows 12 Media Creation Tool provides an easy and reliable method to upgrade, reinstall, or create bootable media for the latest operating system from Microsoft. This guide walks you through the entire process of using the tool to install Windows 12 on your device.
Table of Contents
- What Is the Windows 12 Media Creation Tool?
- System Requirements for Windows 12
- Downloading the Media Creation Tool
- How to Use the Media Creation Tool
- Create Installation Media (USB/DVD)
- Upgrade Your PC
- Step-by-Step Windows 12 Installation
- Finalizing the Installation Process
- Frequently Asked Questions (FAQs)
What Is the Windows 12 Media Creation Tool?
The Windows 12 Media Creation Tool is an official utility from Microsoft that helps users download and install Windows 12. Whether you’re upgrading from a previous version or performing a fresh installation, this tool makes the process seamless. It also allows you to create bootable USB drives or DVDs, making it easy to install Windows on multiple devices.
Key Features:
- Upgrade from Windows 10 or 11 to Windows 12.
- Create a bootable USB or DVD for fresh installations.
- Download the official ISO file of Windows 12.
- Reinstall Windows 12 in case of system issues.
System Requirements for Windows 12
Before installing Windows 12, ensure your PC meets the minimum system requirements. These include:
- Processor: 1GHz or faster, with at least 2 cores (compatible with 64-bit architecture)
- RAM: 8GB (minimum), 16GB (recommended)
- Storage: 64GB or more
- Graphics: DirectX 12 compatible graphics / WDDM 2.0 driver
- Display: 9” or larger with HD resolution (720p)
- Internet Connection: For downloading updates and installing features.
It’s essential to confirm these specs to avoid compatibility issues during installation.
Downloading the Media Creation Tool
To begin, you’ll need to download the Windows 12 Media Creation Tool from the official Microsoft website. Follow these steps:
- Visit Microsoft’s Official Website: Go to the official Windows 12 download page.
- Download the Media Creation Tool: Click on the “Download tool now” button.
- Run the Executable File: Locate the file in your downloads folder and double-click it to start the process.
Ensure that your internet connection is stable during the download process, as the file size can be large depending on updates.
How to Use the Media Creation Tool
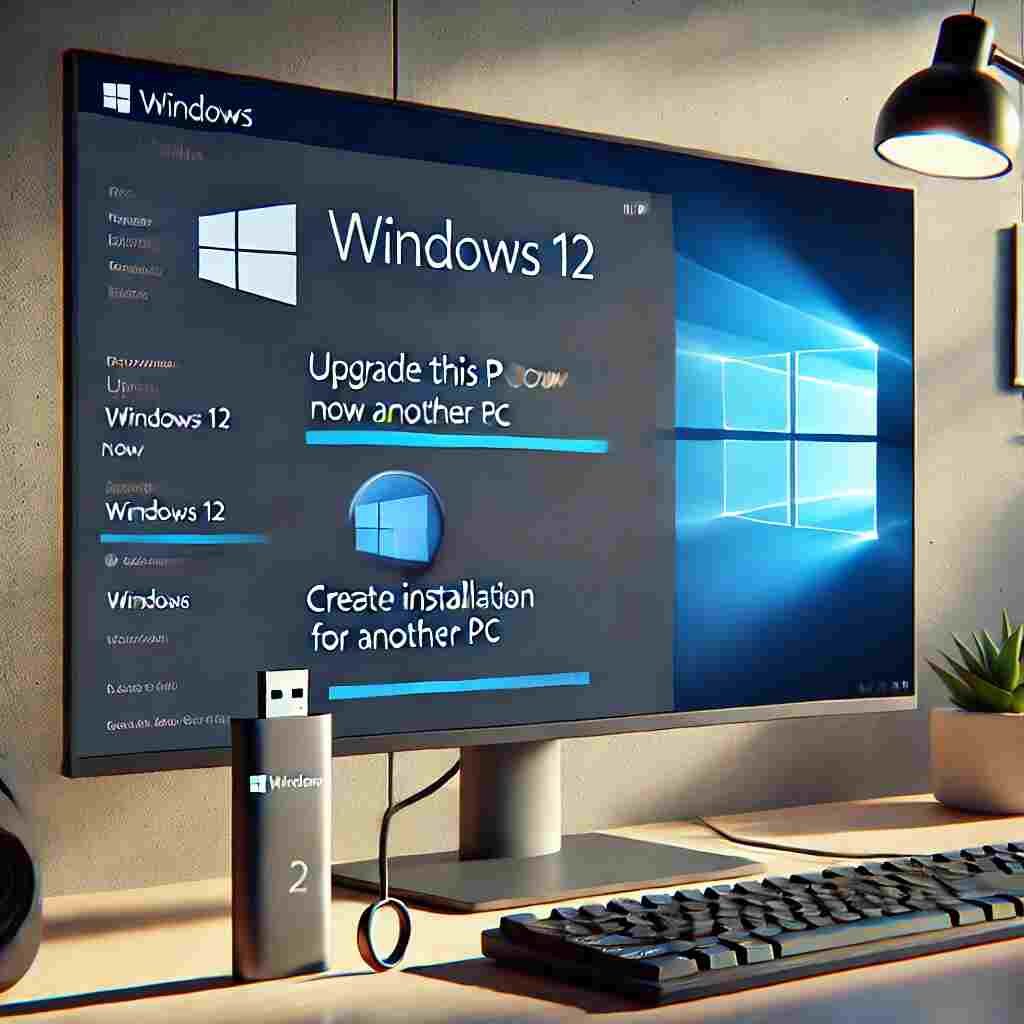
Once the tool is downloaded, you can either upgrade your current PC to Windows 12 or create installation media for use on other devices.
Option 1: Create Installation Media (USB/DVD)
Creating a bootable USB or DVD is ideal for fresh installations or upgrading multiple PCs. Here’s how:
- Open the Media Creation Tool: Accept the terms and conditions.
- Choose “Create Installation Media”: Select this option and click “Next.”
- Select Language, Edition, and Architecture: The tool typically selects the recommended options based on your current system. You can also customize the settings to fit your needs.
- Choose USB or ISO: Select the option to create a USB drive or download the ISO file for DVD burning.
- USB Flash Drive: Insert a blank USB (at least 8GB). The tool will format the drive and copy the Windows 12 files.
- ISO File: Save the ISO file to your computer, and burn it to a DVD later using tools like Windows Disc Image Burner.
- Wait for Download: The process may take some time depending on your internet speed.
Option 2: Upgrade Your PC
For users upgrading from Windows 10 or 11 to Windows 12:
- Open the Media Creation Tool: Accept the terms and conditions.
- Choose “Upgrade this PC now”: The tool will check your system for compatibility and start the download.
- Keep Files and Apps: Choose whether to keep your files and apps or to perform a clean install.
- Download and Install: The tool will begin downloading Windows 12, and the installation will start once it’s complete.
Step-by-Step Windows 12 Installation
After using the Media Creation Tool, you can proceed with the installation. If you’re upgrading, this may happen automatically. For fresh installations using a bootable USB or DVD, follow these steps:
Step 1: Boot from USB or DVD
- Insert the bootable media into your PC.
- Restart your computer and press the appropriate key (e.g., F12, Esc, or Del) to enter the boot menu.
- Select the USB or DVD from the boot options.
Step 2: Start the Installation
- You will see the Windows 12 setup screen. Choose your language, time, and keyboard preferences.
- Click Next, then Install Now.
Step 3: Enter the Product Key
- Enter your valid Windows 12 product key. If you don’t have one, choose the option to activate later.
Step 4: Select Installation Type
- Choose between Upgrade or Custom Install:
- Upgrade: Keeps your files, settings, and apps intact.
- Custom Install: Performs a clean install by wiping your current installation.
Step 5: Choose Where to Install Windows 12
- Select the partition where you want Windows 12 installed. If you’re performing a fresh install, it’s recommended to delete existing partitions and create new ones for a clean setup.
Step 6: Installation Begins
- The installation process will start, and your PC may restart several times during this phase. Be patient as the files are copied and configured.
Finalizing the Installation Process
After the installation is complete, Windows 12 will prompt you to personalize your setup.
- Set Up Your Microsoft Account: Log in with your Microsoft account to sync your settings and access features like OneDrive.
- Configure Your Privacy Settings: Review and adjust settings for location, diagnostics, and more.
- Connect to Wi-Fi: If you haven’t done so during setup, connect to a network to receive updates and finalize configuration.
Once these steps are complete, you’ll be taken to your Windows 12 desktop, where you can start exploring the new features.
Frequently Asked Questions (FAQs)
Q1: Can I install Windows 12 without losing my files?
Yes, if you’re upgrading from Windows 10 or 11, you can choose to keep your files and apps during the installation process.
Q2: Do I need a product key to install Windows 12?
You will need a valid product key to activate Windows 12, but you can skip entering it during installation and activate later.
Q3: Can I use the Media Creation Tool on Mac?
No, the Media Creation Tool is designed for Windows PCs. However, you can download the ISO file separately and use Boot Camp on Mac.
Q4: How long does it take to install Windows 12?
The time depends on your internet speed and PC specifications. Downloading and installing Windows 12 can take anywhere from 30 minutes to a few hours.